Create a glossary with SharePoint out of the box
How to easily add a glossary to your wiki pages (or other HTML pages).
Applies to:
- every SharePoint version (pure html, can be used everywhere; not just SharePoint)
If you want to create a glossary, you won´t find any solution, which is provided over a control or web part in SharePoint, but creation of a glossary in a SharePoint wiki can be achieved in different ways. In this article we will provide you a template, which you can use directly in your wiki page.
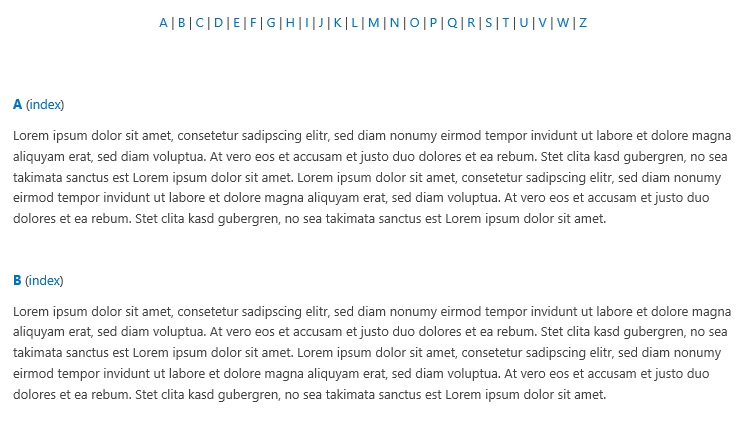
At the end of the article you will find two samples with download links to two different layouts for creating a glossary in your wiki.
Both examples are built with pure html; no javascript used. You don´t need any knowledge to use the provided examples. You just have to alter the examples to your needs (input your text).
Steps to do:
- Create a wiki page in your SharePoint wiki.
- Edit the wiki page and open up the source view with "Edit Source" over the corresponding ribbon button.

- Paste the complete html code of one of the given examples into the editor and hit save.
- At this point you should already see the result. Now you can edit the page and enter your own texts. This can be done directly with the standard-WYSIWYG editor of SharePoint. You don´t need to use the source view / you don´t need any html knowledge.
Layouts you can use:
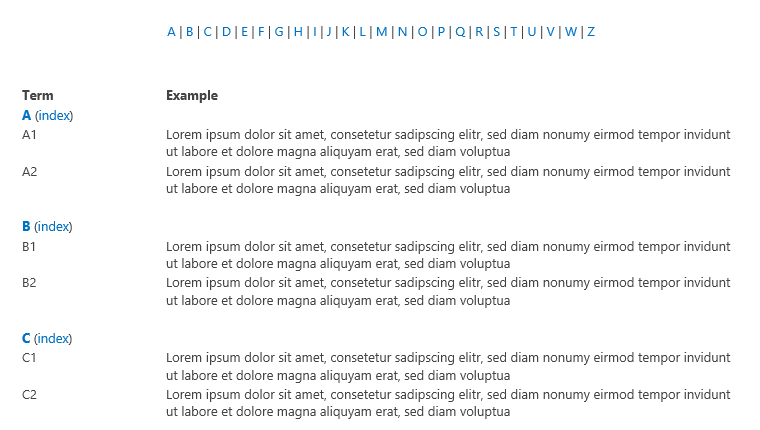
- Table-layout (
 Glossary_Table.html)
- Plain layout without any tables / without any structure ( Glossary_text.html)